How To Correctly Install Kelkay's Friendship Fountain In Your Garden
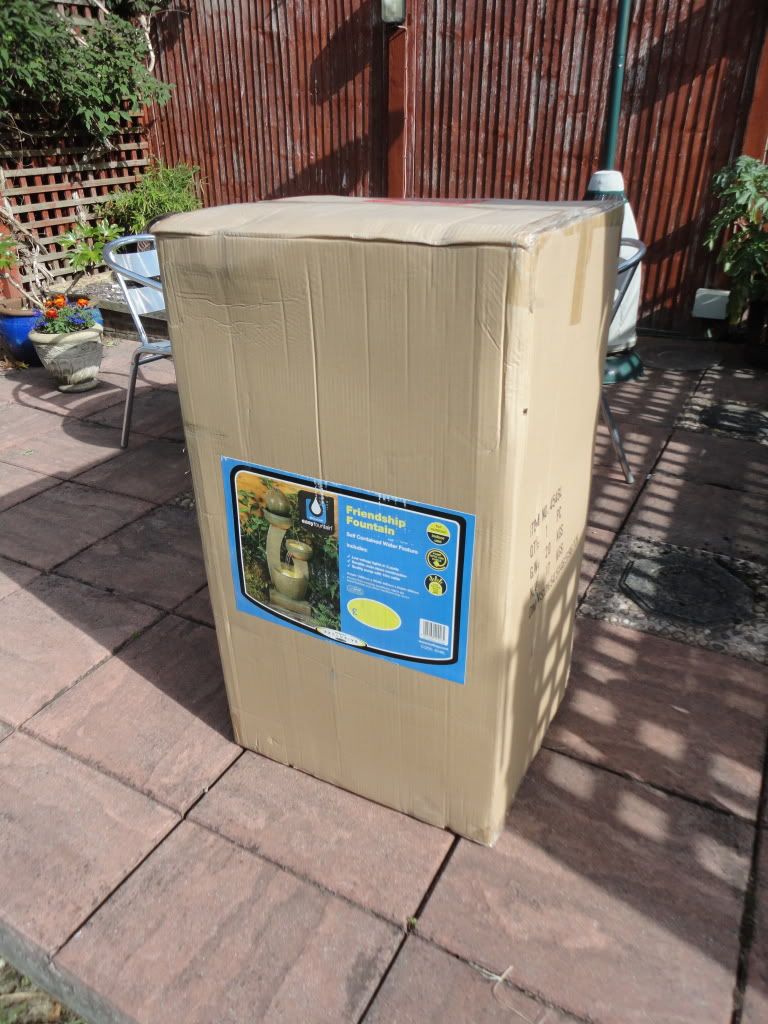
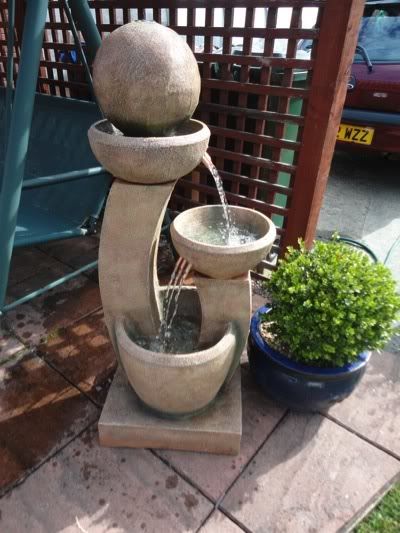
We wanted to show you how easy it is to install one of our self-contained water features. It seemed to make sense to install our best seller from Kelkay; the Friendship Fountain looks fantastic in both the traditional and more contemporary garden. Even when not running the fountain adds a real feel of style and design and can be enjoyed from all angles.
The below installation guide is pretty much the same for all the water features we sell so should prove to be a useful guide when installing your garden water feature.
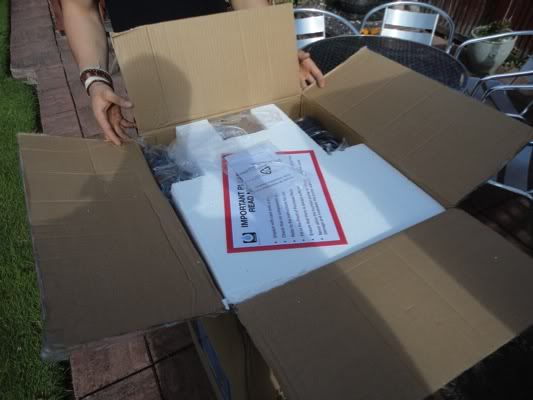
Stage 1: Once the fountain arrives carefully remove all the items from the packaging. Check every bit of polystyrene as sometimes you may find spare parts (bulbs, covers) hiding away. Try and recycle as much of the packaging as you can.
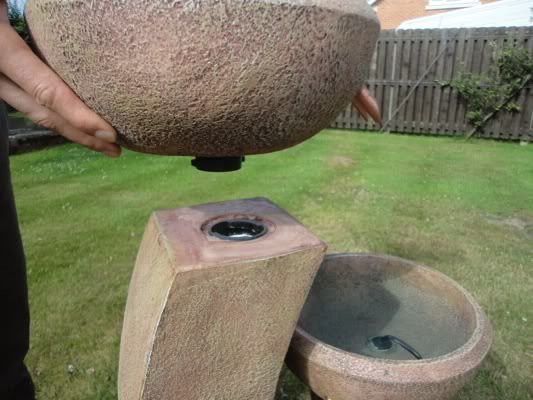
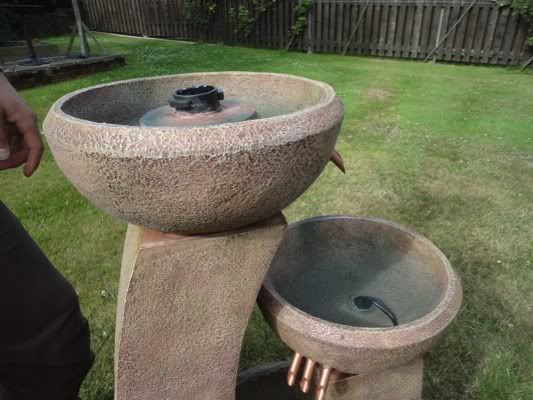
Stage 2: The top two parts to the fountain twist and click into place. Take care when doing this not to over tighten and damage the fountain.
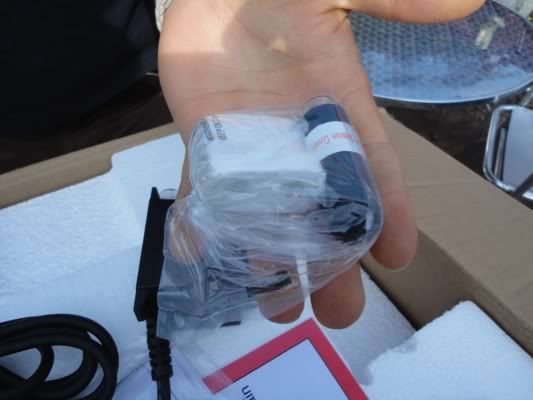
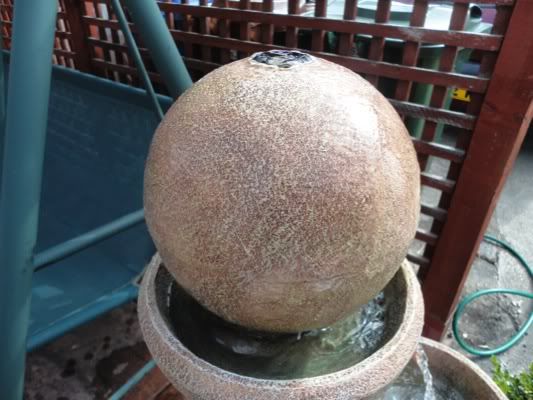
Remove the black plastic caps covering the glass bulbs (These are just to protect the glass during transit).

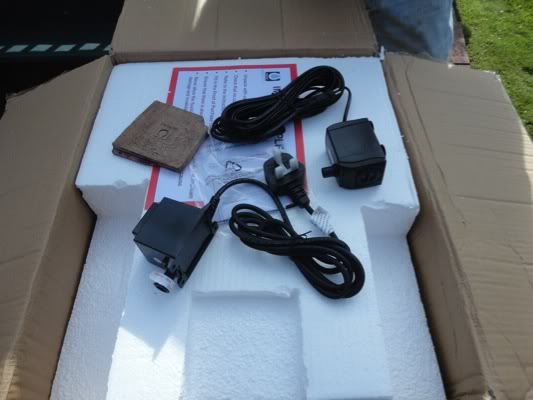
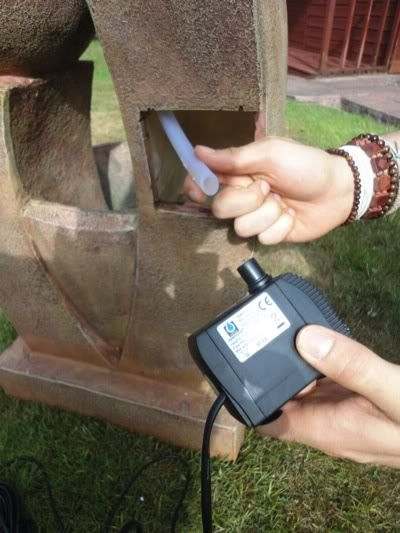
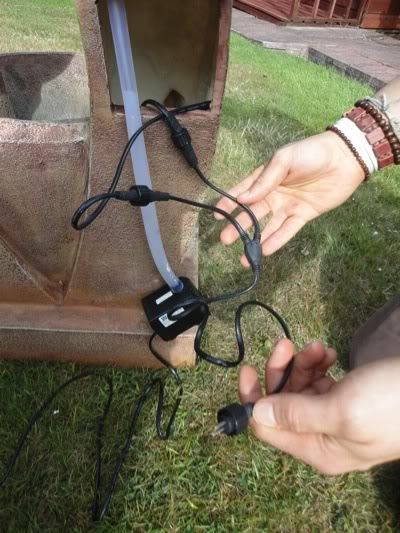
Stage 3: Once built you can now connect the pump and the electrics to the water feature. Attach the top of the pump to the clear PVC pipe which hands down inside the fountain. The pump can be adjusted with the regulator on the side. We recommend starting with the flow regulator fully open and then adjusting down if required.
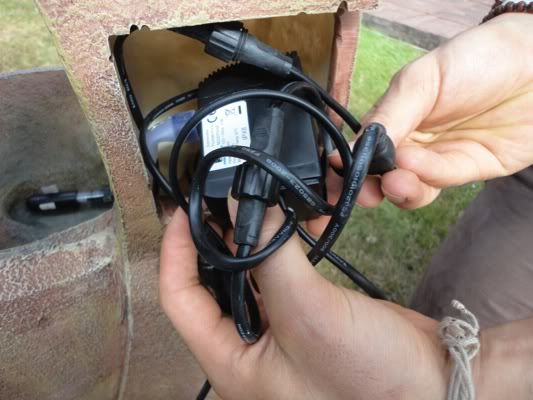
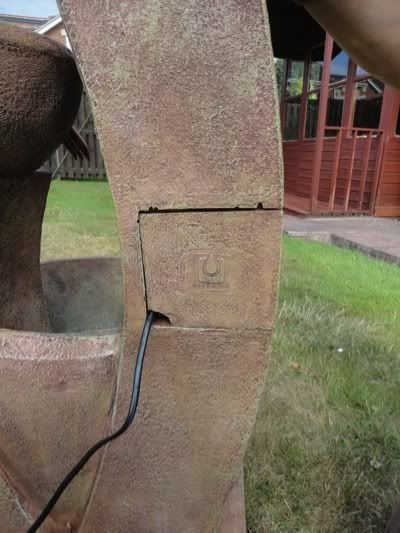
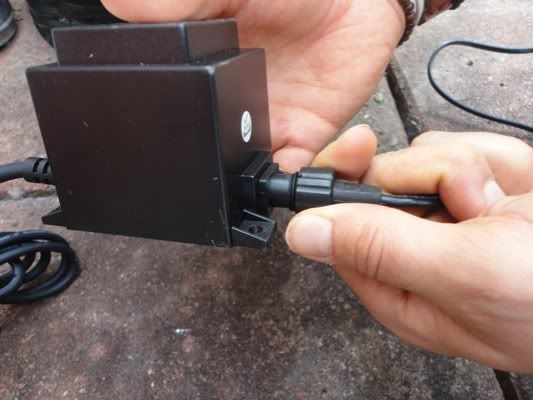
A ‘female’ connector off shoots from the pump and this is where you need to plug the lights into. Once plugged in you need to tighten the screw cap enabling a water tight seal. All these cables can then be placed into the back of the fountain and hidden away. (These are fine to get wet so no need to worry). All that comes out of the back of the Friendship Fountain is a single cable which will then run to your transformer and plug socket.
Stage 4: Your fountain is now ready to be connected to be filled with water and plugged in.
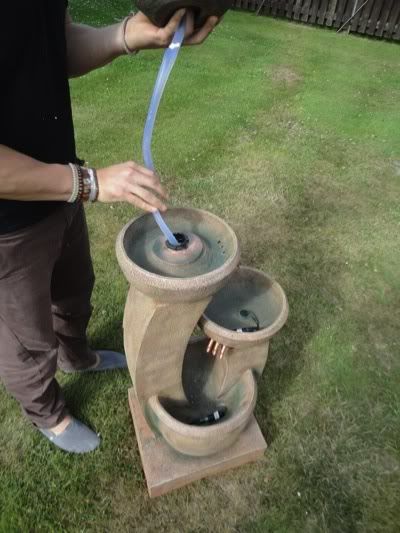
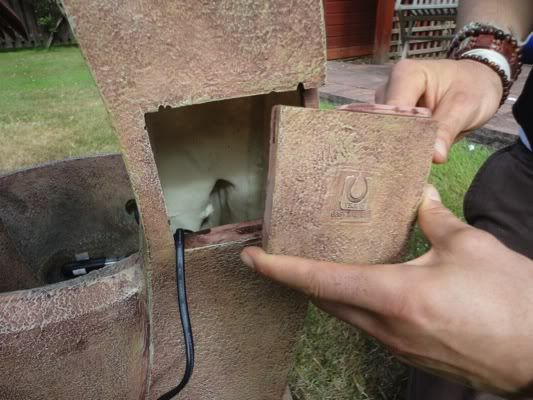
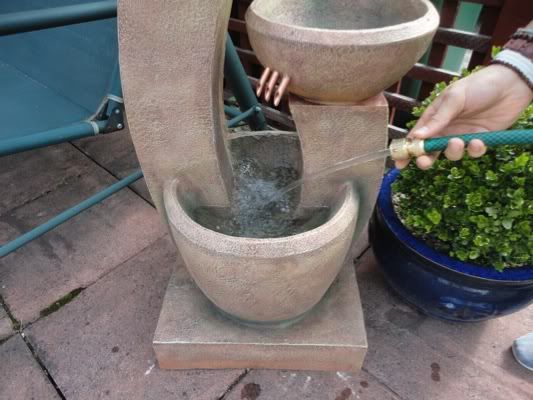
When filling the fountain we always suggest using either a hose pipe or a larger watering can. I think you will be surprised as to how much water the fountains hold! Be careful not to overfill, you need to make sure the pump is fully submerged in water and that you do not fill above the access door to the rear of the feature.
Once filled the fountain can be plugged in and tested. We would always suggest testing the fountain before burying any cables in the garden.
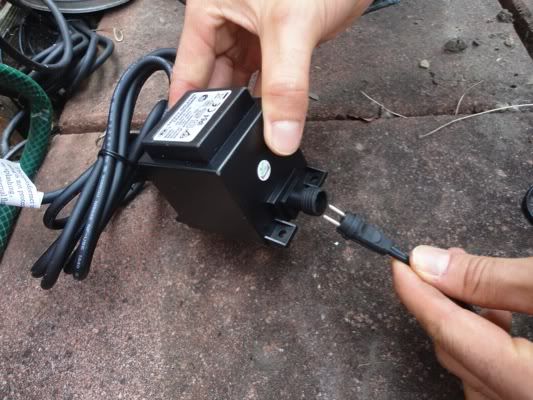
The male end running from the fountain simply plugs into the transformer block and like the lights have a black screw cap which needs tightening.
And now time for the big switch on…
Hints and Tips about the Electrical Installation:
The low voltage transformer used with this water feature is rain proof however it should be placed in a free draining position. Ideally we always recommended that it is kept in a shed or outbuilding or inside a weather proof box. This will prolong the life of the transformer.
When the fountain is switched on the transformer may get hot, this is normal.
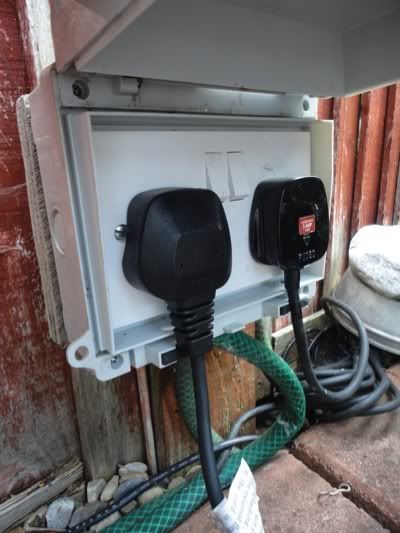
If connecting your water feature to a mains outlet outside it must be waterproof. We recommend the use of a residual current device (RCD) circuit breaker when connecting the fountain to an electrics supply.
Caring for your new fountain:
Your water feature maybe the final touch to a re-vamped garden and we would like to make sure that you have years of pleasure from it.
• Always make sure the fountain has sufficient water in to ensure the pump is fully submersed.
• Clean and top the water up on a regular basis
• We recommended using Algae Stopper to keep the water clean and clear.
• To clean the fountain you can use Fountain Grime and Lime
• Always turn the power off to the fountain before maintain the pump.
• Never allow the pump to run dry and this will cause damage and invalidate the warranty.
How to look after your fountain when the temperature drops:
Winter are getting colder and colder and like most garden items your fountain will need protecting from the elements.
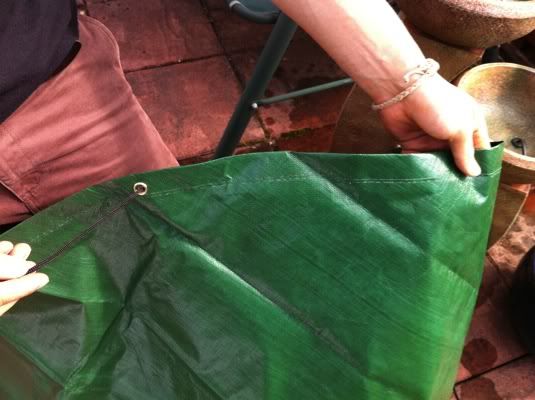
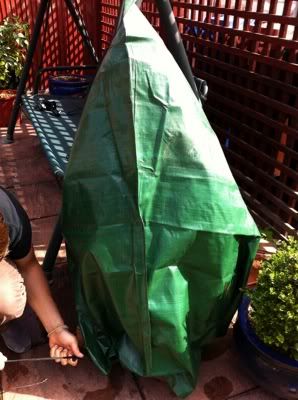
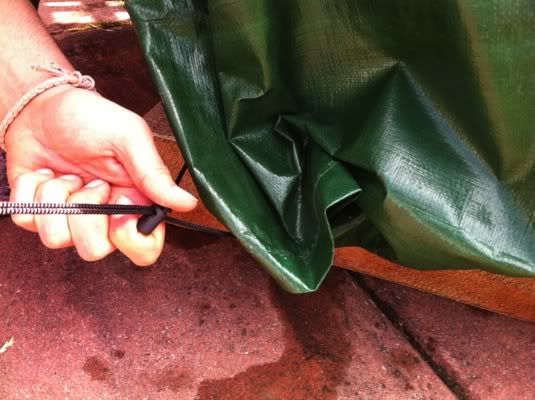
During winter never allow ice to form in the bowls as the force of the ice forming will crack the bowls. Drain all the bowls out and pour the water out from the main reservoir inside the fountain. (A tip here if you are struggling to get all the water out, place a towel inside the back and this will soak up excess water). Once drained apply a winter protection cover or for total protection and prolong the life of the paint finish, drain the fountain, cover and store indoors.

The pump should be removed from the fountain and stored in a dry area.
We hope that if you already have a water feature or are looking to purchase one that this guide has proved useful and you will enjoy your fountain for many years to come.
Trouble Shooting
We are here to help if you have any questions either before buying a garden water feature or after.
A few useful hints and tips and be found below.
The water pump seems to have stopped pumping?
• Check the power is correctly connected.
• Check that there is sufficient water inside the reservoir.
• Check the pump and tubing for any form of obstruction.
• Remove the cover on the side of the pump (the flow adjuster) which will reveal the pump impeller, gently turn the rotor to check that it is not broken or jammed.
The pump is working but the flow doesn’t seem to be enough?
• Make sure the flow regulator on the pump is turned up
• Ensure the pump is fully submersed in water
The pump has started to make a slight rattling noise, what do I need to do?
• Turn off the power supply and check the rota assembly by removing the pump cover and rotor plate front.
• Grip the impellor and gently take out the rotor assembly from the pump. This can then be rinsed with the pump housing to remove any debris or grit.
• If during this process you find any breakage or surface damage is found on the rotor assembly please contact our customer care team.
What guarantee comes with the fountain?
• All our water features come with a 12 month guarantee valid from the date of purchase.