How to Install a Pond in Your Garden
Adding water to your garden is a nice way of creating another dimension to your outdoor space. It can add an interesting focal point to your garden as well as welcoming a surprising amount of wildlife. A pond can allow you to rear fish as well as grow a greater variety of plant life, meaning you can always be introducing new species to your garden.
A pond can also mean you going that step further to helping out the environment, as after installing your new pond you will hopefully attract creatures such as frogs, squirrels, an array of birds as well as different kinds of insects, by offering them a new natural habitat!
Many of us worry when it comes to the initial set up of the pond, which may put us off buying one altogether…
…But that is where we’re here to help!
In this blog we want to give you a helpful step-by-step guide to installing a pond that you can enjoy while we still have our summer! As well as easy to follow instructions we will outline some of our great products that will help you on your way…
Step 1
Choose the size of your pond and purchase the relevant essentials.
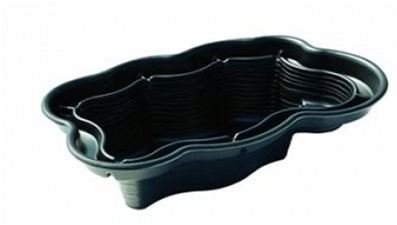
One of the most popular ways to build a pond these days is by using a pre-formed pond liner. This is because they don’t require an underlay and they come with built in ridges which will help to support plant growth. They are also made from durable material so are less likely to develop a hole and leak.
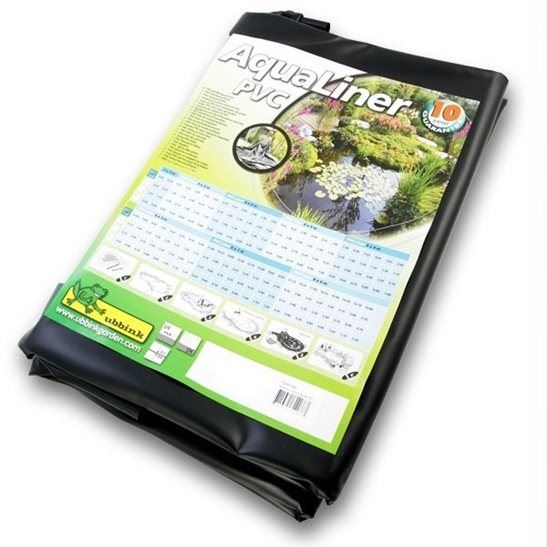
Another option is to use a PVC pond liner. This is a large piece of durable PVC material that will take to the shape of the pond you dig. They are very easy to lay and are highly resistant to punctures and ripping. We offer a range of different sizes to suit whatever shaped pond you desire.
Check out our fantastic range of pre-formed ponds and pond liners in a variety of shapes and dimensions to get you started!
Step 2
Place your pond liner in the location you wish. When you mark out the pond, make sure you leave an extra 5cm around the perimeter. This will ensure the pond liner (particularly pre-formed ponds) will definitely fit and can be filled back in afterwards to prevent any punctures.
Another idea would be to fill the excavation with 5cm of sand around the perimeter before putting in the pond liner.
Once the liner is in the hole, half fill with water to keep in place, and then fil in the hole between the pond and the excavation.
Step 3
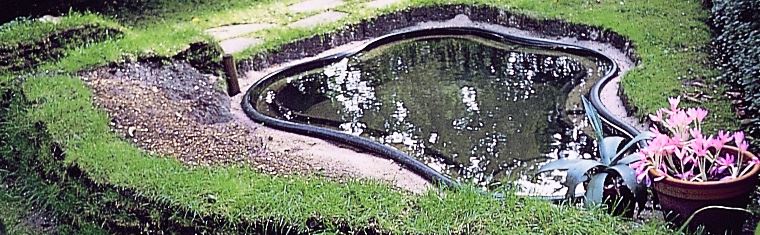
Once you have filled the gap between the two surfaces, finish filling up the pond with water to the desired depth. If there are any gaps remaining between the liner and excavation, finish off with filling with more soil.
It is advised that you now leave the pond for a couple of days, without adding rocks and slabs, to allow the ground beneath the pond to minimise and settle.
Step 4
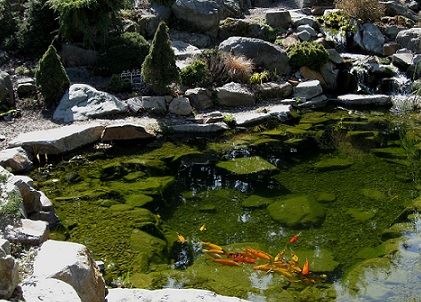
Feel free to now add any rocks to the bottom of the pond, add in your plant life and any fish too! Be creative and adventurous with your accessories and decorations to really make your new pond your own.
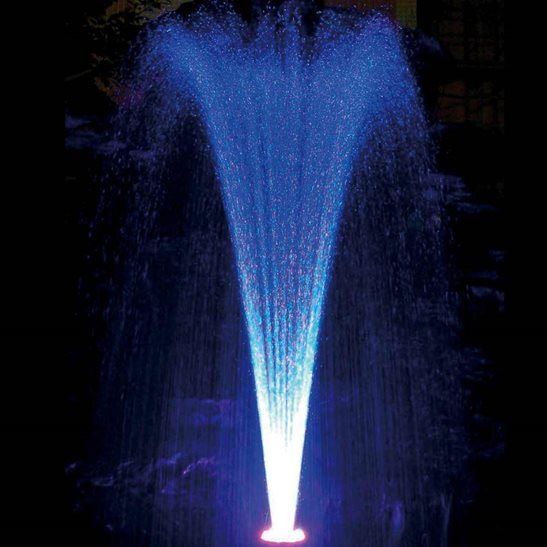
A small fountain can also be added when your pond is all finished which will create a soothing sound of splashing water as it falls back into the pond. How about our Floating Fountain with Colour Changing LED Lights. This addition would be great for enjoying the feature during the night time too! We also have a wide range of Pond Pumps for you to create your own fountain.
Check out our full range of Pond Spitters and Ornaments to add your own decorations.
Or how about adding some light below the water? Here at UK Water Features we have a fantastic range of Pond Lights and Misters in a range of colours to create your own mystical effects!
Our website also shows our great Pond Accessories where you will find our cleaning products and other extras to keep your new pond in tip top condition!
We hope this blog has helped to solve any worries you had about setting up your very own pond, we look forward to seeing your results! Please do share your new installations – we’d love to see them!